Health care: It’s more than just doctor’s visits and prescriptions; it’s the bedrock of a fulfilling and productive life. Have you ever stopped to consider how much your well-being impacts every single aspect of your day? From chasing after your kids to excelling at work, a healthy body and mind are essential. Throughout history, different cultures have approached health care in diverse and fascinating ways, from ancient herbal remedies to sophisticated surgical techniques. The pursuit of well-being is a universal human endeavor, woven into the fabric of our societies.
But why is health care so crucial in today’s world? Well, life is demanding! We’re constantly bombarded with stress, environmental toxins, and the pressures of modern living. Taking proactive steps to safeguard our health isn’t a luxury; it’s a necessity. I believe that understanding your health options, making informed decisions, and prioritizing preventative care are the keys to unlocking a healthier, happier future. This article will guide you through the complexities of health care, empowering you to take control of your well-being and live your best life.
DIY Streak-Free Floor Cleaner: A Comprehensive Guide
Hey there! Tired of streaky floors after cleaning? I totally get it! Achieving that sparkling, streak-free shine can feel like a never-ending battle. But don’t worry, I’m here to share my tried-and-true DIY floor cleaner recipe and a step-by-step guide to help you conquer those pesky streaks once and for all. This recipe is safe for most sealed hard floors, but always test in an inconspicuous area first!
Choosing the Right Ingredients
Before we dive into the recipe, let’s talk about the ingredients. Using the right components is key to a streak-free finish.
* Distilled Water: This is your secret weapon! Tap water often contains minerals that can leave streaks. Distilled water is pure and won’t leave any residue.
* White Vinegar: Vinegar is a natural cleaner and disinfectant. Its acidity helps cut through grease and grime without leaving a harsh chemical residue.
* Rubbing Alcohol (Isopropyl Alcohol): This helps the cleaner evaporate quickly, preventing streaks. Make sure to use a concentration of at least 70%.
* Dish Soap (Optional): A small amount of dish soap can help lift stubborn dirt and grime. Choose a mild, clear dish soap without added moisturizers or fragrances, as these can contribute to streaks.
* Essential Oils (Optional): For a pleasant scent, add a few drops of your favorite essential oils. Lavender, lemon, and tea tree oil are popular choices.
The Streak-Free Floor Cleaner Recipe
Okay, let’s get to the good stuff! Here’s my go-to recipe for a streak-free floor cleaner:
* 1/2 gallon (8 cups) distilled water
* 1/2 cup white vinegar
* 1/4 cup rubbing alcohol (70% or higher)
* 1 teaspoon mild, clear dish soap (optional)
* 10-15 drops essential oils (optional)
Step-by-Step Cleaning Guide
Now that you have your cleaner, let’s get those floors sparkling! Follow these steps for a streak-free finish:
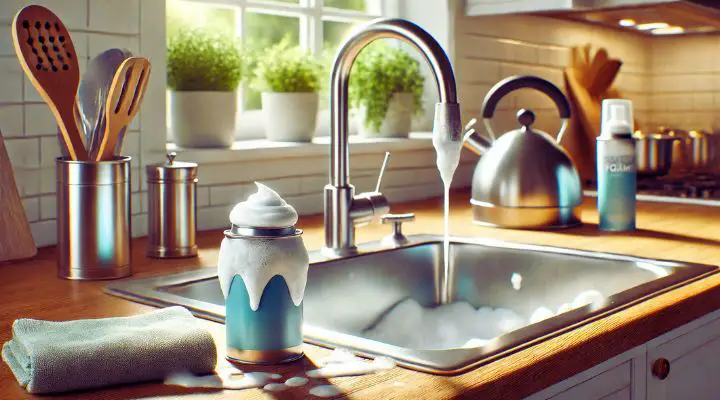
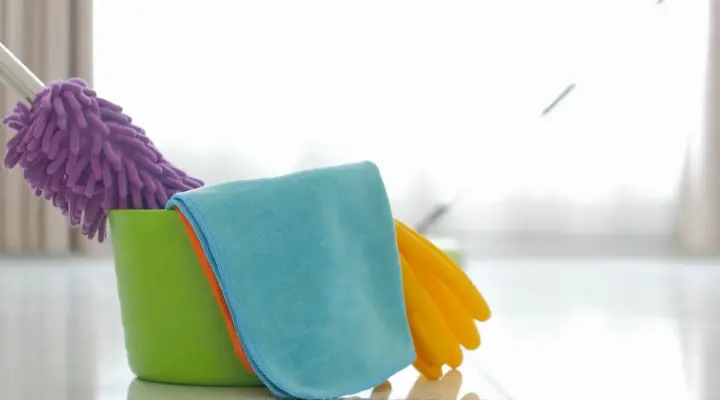
1. Prepare Your Supplies: Gather your DIY floor cleaner, a clean mop (microfiber is best!), a bucket, a broom or vacuum, and a spray bottle (optional).
2. Sweep or Vacuum: This is crucial! Remove all loose dirt, dust, and debris from the floor before you start mopping. This prevents you from just pushing the dirt around and creating streaks. Pay special attention to corners and edges.
3. Mix the Cleaning Solution: In your bucket, combine the distilled water, white vinegar, rubbing alcohol, and dish soap (if using). If you’re adding essential oils, do so now. Stir gently to combine.
4. Dampen the Mop: Dip your mop into the cleaning solution and wring it out thoroughly. The mop should be damp, not soaking wet. Excess water can lead to streaks.
5. Mop in Sections: Work in small sections, overlapping each stroke slightly. This ensures that you cover the entire floor surface.
6. Rinse the Mop Frequently: As you mop, the mop head will pick up dirt and grime. Rinse it frequently in a separate bucket of clean water and wring it out well before re-dipping it into the cleaning solution. This prevents you from spreading dirty water back onto the floor.
7. Dry the Floor (Optional): If you want to speed up the drying process and further minimize the risk of streaks, you can dry the floor with a clean, dry microfiber cloth or towel.
8. Admire Your Sparkling Floors! Once the floor is dry, step back and admire your streak-free shine!
Specific Floor Type Considerations
While this recipe is generally safe for sealed hard floors, here are some specific considerations for different floor types:
* Hardwood Floors: Be extra careful not to over-wet hardwood floors. Excess water can seep into the wood and cause damage. Always wring out your mop thoroughly and consider drying the floor with a clean cloth after mopping. Avoid using vinegar on waxed hardwood floors, as it can strip the wax.
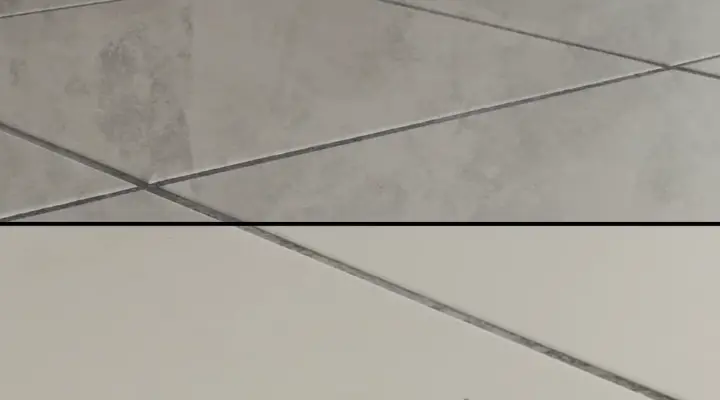
* Tile Floors: This recipe works well on tile floors. Pay attention to the grout lines, as they can trap dirt and grime. You may need to use a grout brush to scrub the grout lines clean.
* Laminate Floors: Laminate floors are generally water-resistant, but it’s still important to avoid over-wetting them. Wring out your mop thoroughly and consider drying the floor with a clean cloth after mopping.
* Vinyl Floors: This recipe is safe for most vinyl floors. However, always test in an inconspicuous area first to ensure that it doesn’t damage the finish.
Troubleshooting Streaks
Even with the best recipe and technique, you might still encounter streaks. Here are some common causes and solutions:
* Too Much Soap: Using too much dish soap can leave a residue that causes streaks. Reduce the amount of soap you’re using or skip it altogether.
* Dirty Mop: A dirty mop will spread dirt and grime around, creating streaks. Rinse your mop frequently and replace it when it becomes too worn.
* Hard Water: If you’re using tap water, the minerals in the water can leave streaks. Switch to distilled water.
* Residue from Previous Cleaners: If you’ve been using other floor cleaners, they may have left a residue on the floor. Try cleaning the floor with just distilled water and a clean mop to remove the residue.
* Not Wringing Out the Mop Enough: A soaking wet mop will leave too much water on the floor, which can lead to streaks. Wring out your mop thoroughly before mopping.
* Floor Not Cleaned Properly Before Mopping: If you don’t sweep or vacuum thoroughly before mopping, you’ll just be pushing dirt and grime around, creating streaks.
Extra Tips for Sparkling Floors
Here are a few extra tips to help you achieve and maintain sparkling floors:
* Test in an Inconspicuous Area: Before cleaning your entire floor, always test the cleaner in an inconspicuous area to ensure that it doesn’t damage the finish.
* Clean Regularly: Regular cleaning will prevent dirt and grime from building up, making it easier to keep your floors clean and streak-free.
* Use Doormats: Place doormats at entrances to trap dirt and debris before they get tracked onto your floors.
* Remove Shoes: Encourage family members and guests to remove their shoes before entering your home.
* Protect Your Floors: Use furniture pads under furniture legs to prevent scratches and scuffs.
Maintaining Your Floors
Keeping your floors clean is an ongoing process. Here’s a simple maintenance routine I follow:
* Daily: Sweep or vacuum high-traffic areas to remove loose dirt and debris.
* Weekly: Mop the entire floor using the DIY streak-free floor cleaner.
* Monthly: Deep clean grout lines with a grout brush and a mixture of baking soda and water.
Safety Precautions
While this DIY floor cleaner is generally safe, it’s important to take a few precautions:
* Keep Out of Reach of Children and Pets: Store the cleaner in a safe place where children and pets cannot access it.
* Avoid Contact with Eyes: If the cleaner gets in your eyes, rinse thoroughly with water.
* Ventilate the Area: When mopping, open windows or turn on a fan to ventilate the area.
* Wear Gloves (Optional): If you have sensitive skin, you may want to wear gloves when mopping.
Why I Love This Recipe
I’ve tried countless floor cleaners over the years, and this DIY recipe is by far my favorite. It’s effective, affordable, and environmentally friendly. Plus, I love that I can customize it with my favorite essential oils.
This recipe is a game-changer for achieving streak-free floors! Give it a try and let me know what you think. Happy cleaning!
“`
Conclusion
Achieving sparkling, streak-free floors doesn’t require harsh chemicals or expensive commercial cleaners. Embracing a homemade, streak-free floor cleaner recipe is not just a cost-effective alternative; it’s a conscious choice towards a healthier home environment and a more sustainable lifestyle. By utilizing readily available ingredients like white vinegar, rubbing alcohol, and dish soap, you can create a powerful cleaning solution that effectively removes dirt, grime, and even stubborn stains, leaving your floors gleaming without any unsightly streaks.
The beauty of this approach lies in its versatility. You can easily adapt the recipe to suit different flooring types, from hardwood and laminate to tile and vinyl. For instance, reducing the amount of vinegar for delicate hardwood floors can prevent potential damage, while adding a few drops of essential oils can infuse your home with a refreshing and natural fragrance. Experiment with different combinations to find the perfect formula that works best for your specific needs and preferences.
Beyond the immediate benefits of clean and shiny floors, using a homemade cleaner reduces your exposure to potentially harmful chemicals found in many commercial products. This is particularly important for households with children, pets, or individuals with sensitivities. Furthermore, by opting for a DIY solution, you’re minimizing plastic waste and contributing to a more environmentally friendly cleaning routine.
We strongly encourage you to try this streak-free floor cleaner recipe and experience the difference for yourself. The process is simple, the ingredients are affordable, and the results are truly remarkable. Don’t just take our word for it give it a try and see how easy it is to achieve professional-quality cleaning results without breaking the bank or compromising your health.
We are confident that you’ll be delighted with the outcome. But more than that, we want to hear about your experience! Share your tips, variations, and success stories in the comments below. Let’s build a community of informed and empowered homeowners who are committed to creating cleaner, healthier, and more sustainable living spaces. Your feedback is invaluable and will help others discover the benefits of this simple yet effective cleaning solution. So, go ahead, give this **streak-free floor cleaner recipe** a try and let us know what you think!
Frequently Asked Questions (FAQs)
1. What types of floors can I use this streak-free floor cleaner recipe on?
This recipe is generally safe for most hard flooring types, including tile, vinyl, laminate, and sealed hardwood. However, it’s crucial to test the solution in an inconspicuous area first, especially on hardwood floors. Different finishes react differently to vinegar, so a spot test will help you determine if it’s suitable for your specific flooring. For delicate hardwood floors, consider reducing the amount of vinegar or using a pH-neutral cleaner specifically designed for wood. Always consult your flooring manufacturer’s recommendations for cleaning.
2. Can I use any type of vinegar?
White distilled vinegar is the recommended type of vinegar for this recipe. It’s inexpensive, readily available, and has a mild acidity that effectively cuts through grease and grime without leaving a strong odor. Avoid using colored vinegars, such as apple cider vinegar or balsamic vinegar, as they may stain your floors.
3. What kind of dish soap should I use?
A mild, clear dish soap is best. Avoid using dish soaps that contain added moisturizers or fragrances, as these can leave a residue on your floors and contribute to streaking. A small amount of dish soap is all you need too much can also lead to streaks.
4. Why is rubbing alcohol included in the recipe?
Rubbing alcohol (isopropyl alcohol) helps the solution dry quickly, preventing streaks and water spots. It also acts as a disinfectant, killing germs and bacteria on your floors.
5. Can I add essential oils to the cleaner?
Yes, adding a few drops of essential oils can give your floors a pleasant scent and provide additional cleaning benefits. Lemon, tea tree, and eucalyptus essential oils are popular choices for their antibacterial and antifungal properties. However, be sure to use essential oils sparingly, as some can be irritating to sensitive skin or harmful to pets. Always dilute essential oils properly before using them on your floors.
6. How often should I use this streak-free floor cleaner recipe?
The frequency of cleaning depends on the amount of foot traffic and the type of flooring you have. In general, you can use this cleaner once or twice a week for regular maintenance. For heavily soiled floors, you may need to clean more frequently.
7. What if I still see streaks after cleaning?
If you’re still experiencing streaks after cleaning, try the following:
* Make sure you’re using the correct amount of cleaner. Too much cleaner can leave a residue.
* Use a clean microfiber mop or cloth. Dirty mops can spread dirt and grime around.
* Rinse your mop or cloth frequently in clean water.
* Dry your floors with a clean, dry microfiber cloth after cleaning.
* Ensure your floors are properly sealed, if applicable.
8. Is this cleaner safe for pets and children?
While this homemade cleaner is generally safer than commercial cleaners, it’s still important to take precautions. Keep pets and children away from the area while you’re cleaning, and allow the floors to dry completely before allowing them back in. Store the cleaner out of reach of children and pets. If you’re concerned about potential sensitivities, consider using a smaller amount of vinegar or opting for a pH-neutral cleaner.
9. Can I store the leftover cleaner?
Yes, you can store the leftover cleaner in a sealed container for future use. Be sure to label the container clearly and store it in a cool, dark place. The cleaner should be effective for several weeks.
10. What are some variations of this recipe?
Here are a few variations you can try:
* **For hardwood floors:** Reduce the amount of vinegar to 1/4 cup or less per gallon of water. You can also add a few drops of olive oil to help condition the wood.
* **For tile floors:** Add 1/2 cup of baking soda to the solution for extra cleaning power.
* **For a natural disinfectant:** Add 1/4 cup of hydrogen peroxide to the solution.
* **For a refreshing scent:** Add a few drops of your favorite essential oils, such as lemon, lavender, or peppermint.
Remember to always test any new variation in an inconspicuous area first to ensure it doesn’t damage your flooring.